YAM ~ If a Ship of Theseus Was a Half-Built Robot
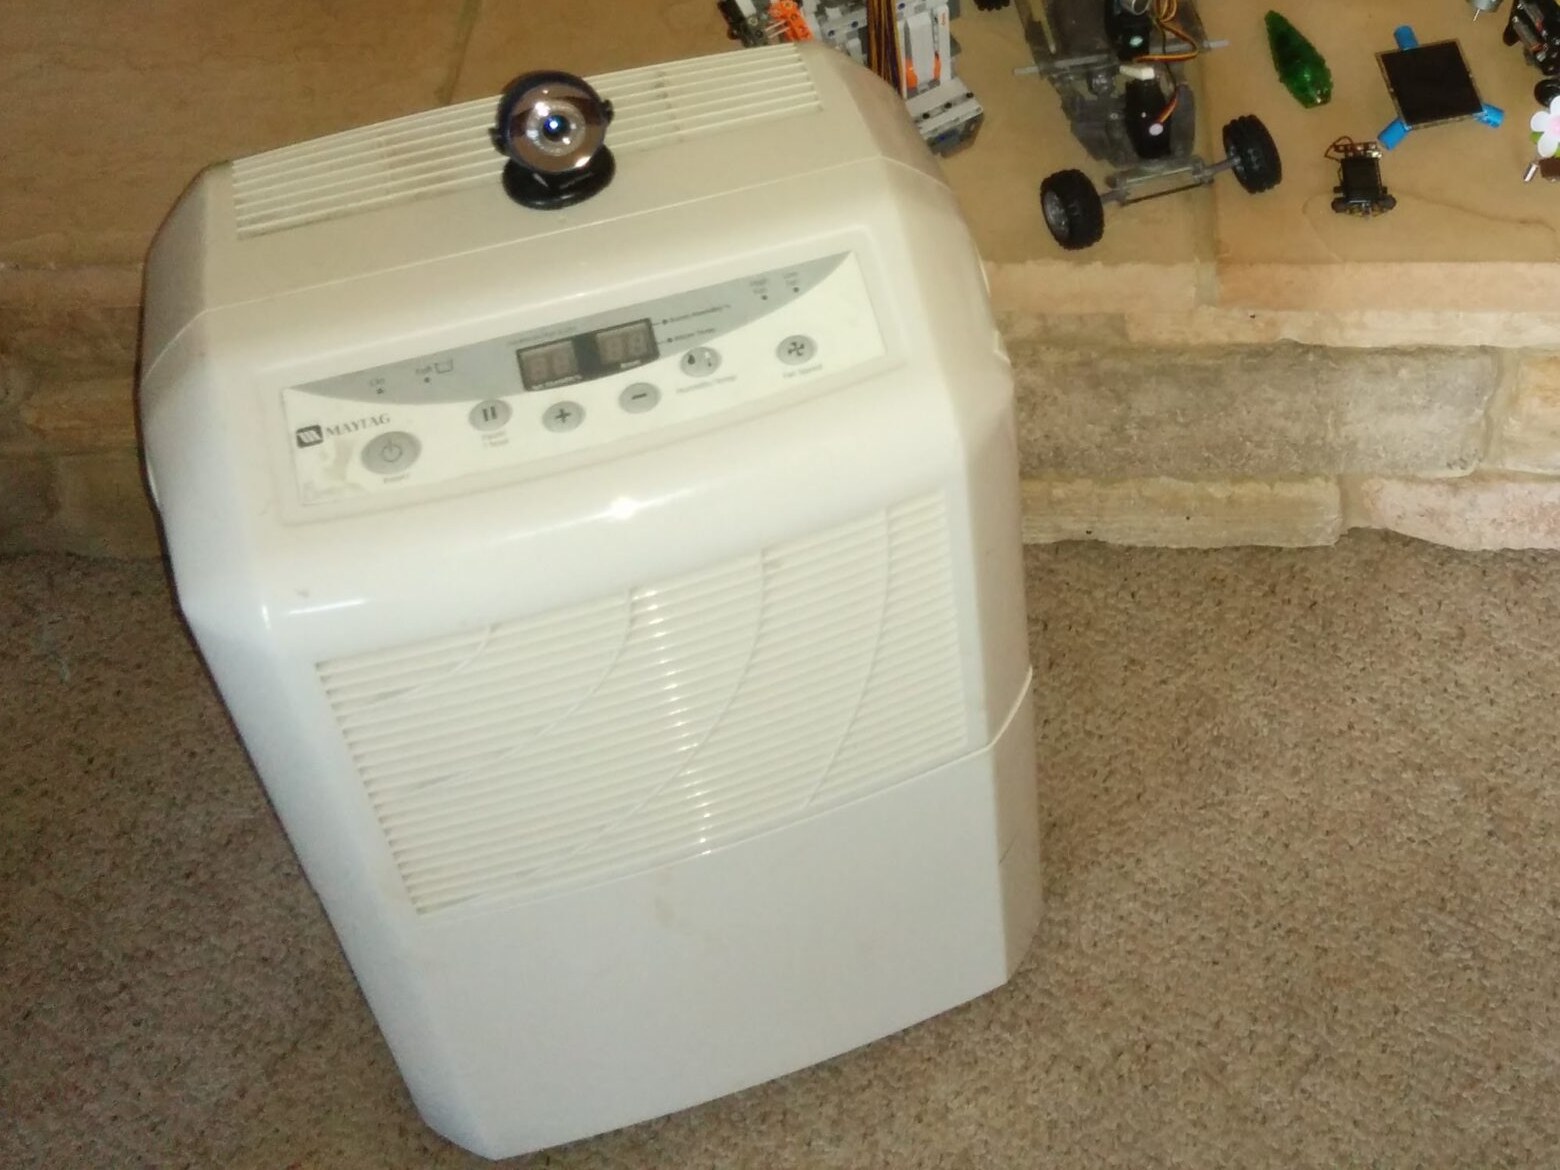
YAM is short for Your Automated Machine (I started with YAM and needed to find some way to justify it). It started as an old dehumidifier that I gutted to its shell and then rebuilt as a mobile robot base. It has been my test and experimentation platform for years, built on and off and swapped out piece by piece.
I picked a dehumidifier as a kid since it looked kind of like R2-D2 (if you squint). Plus it was a dead unit that was sitting in my parents’ basement. There was no grand art plan for it. It was a thing and I built with that thing.
The code lives in this GitHub repository. I made the repo out of older backups, so its dates don’t line up with when I actually built any of this.
Era #1: The Arduino
The first brain was an Arduino Uno. Around it I kept the inner plastic base of the dehumidifier, and the water bucket became the battery holder.
For drive motors I bought old window motors from American Science and Surplus, a surplus store in Milwaukee, Wisconsin. They took some kludging to get working. I didn’t have a 3D printer at the time, so I molded the mounts out of those moldable plastic beads that you heat up in boiling water and then shape around the odd geometry of the motors. It actually works pretty well. I also couldn’t figure out the connector the motors were designed for, so the wires are soldered straight to the leads. Works well enough.
To drive both window motors I used a Seeed Studio motor shield. This controller got HOT! My solution was to jury-rig a fan (a DC motor with a salvaged propeller) to cool it. It again worked well enough to keep the magic smoke inside. Working well enough was a theme (you can take the redneck out of the country but not the redneck out of the man, I guess).
The tires are rubber training wheels taken from my brother’s old bike. They don’t have good grip, and nothing was ever done about re-treading them.
Era #2: The PC
Still in high school, I gave YAM a bigger brain. An old x86 Intel PC board went on top, with a specialized power adapter so it could run off the 12V SLA batteries, and the Arduino stayed on below it to drive the motors. This “worked” in the sense that it ran Windows XP for 10 minutes before the batteries died. The motors plus the PC were a pretty heavy load. Those SLA batteries have since been replaced, since they aren’t meant for the deep, hard current draw I kept putting them through.
A C# program on the PC did the driving, with an Xbox controller as the teleop mode. The idea was to prove things were working before going for full autonomy. Plus it’s cool. I had used Xbox controllers in FIRST Robotics as well, so I wasn’t going in blind. Funny story. The Xbox variant once escaped control and kept driving forward after the software crashed. I had to tip it over to stop it. That was easy, since the PC was mounted up in the top of the dehumidifier chassis with the batteries on the bottom and the center of gravity was way too high.
Then I tried Linux on the same x86 board with ROS 1, and added the webcam. (Or I might have added the webcam back on Windows XP. It’s so long ago that the detail is fuzzy, and it doesn’t matter since I never used it for anything.) That got through the setup phase. ROS as a high schooler is hard. At the very end of this phase, YAM got three ultrasonic sensors.
The code from this era survives in the repo’s _old folder. In there is the Arduino sketch that took motor commands from the PC over serial, the C# control engine, and the Xbox controller app (which only made it into the repo as a compiled .exe). There’s also a Java “robot brain” with map files for the bedroom and the family room, a folder called neuron code, and a text file titled “what needs to be done and what is done list.txt”. Here it is in full.
DONE:
	Input (driver written and tested)
	Output (driver written and tested)
	Controller abstract written

Needs work:

	YamBot server needs to be written extends controller
Lots of ambition in this era, but it was a moonshot compared to my skillset. The Arduino sketch shows it too. It takes motor commands from the PC over a little serial protocol, declares PID variables for closed loop control that nothing ever uses, and saves a spot for toggling closed loop on and off that never got filled in.
//server for roboserver
//command structure is <command>:<Parm1>,<Parm2>,...;

// ...

//PID closed loop varibles
double P = 0;
double I = 0;
double D = 0;

// ...

  //this part will be for implementing all of the different cases
  //that we can use like set open/ closed loop
  //position/ speed mode iif in closed loop
  //and also set motor speeds and look up encoder speeds/position
  //,,,,,,,,,,,,,,,,,,,,,,,,,,,,,,,,,,,,,,,,,,,,,,,,,,,,,,,,,


  //motorCommands
  if(command.charAt(0) == 'M')
  {
    leftDir= command.charAt(2);
    leftSpeed = (byte)command.charAt(4);

    rightDir = command.charAt(6);
    rightSpeed = (byte)command.charAt(8);

  }
  else if(command.charAt(0) == 'P')
  {
    //toggle on off closed loop
  }
  else //stop the motors //default command will be S;
  {
    leftDir = 'f';
    leftSpeed = 0;

    rightDir = 'f';
    rightSpeed = 0;
  }
Era #3: Shelved
I mostly abandoned the robot in early undergrad. Later in undergrad I looked into MyRobotLab, the framework around the InMoov 3D printable humanoid. I was severely under-equipped for the platform complexity it imposed (like ROS was any easier). Again, I had a lot of ideas and not the technical chops to implement the various bits together.
Era #4: Raspberry Pi
When I came back to YAM late in undergrad, I swapped the PC out for a Raspberry Pi 3B+. YAM lost its top half in the process, which put the center of gravity a lot lower. Much more stable.
I fixed a few other things while I was in there. The Arduino Uno gave way to a Leonardo, the same one I had used to debug the overhead LED strips in my undergrad home automation setup. The Seeed Studio shield was a dinky Arduino motor controller not designed to drive window motors, fan or no fan, so it got replaced too. The new one, a Cytron MDD10A Rev 2 I bought from RobotShop, works much better. And after the Xbox incident, I added an e-stop button to the back. So at least now I just have to press that instead of tackling YAM.
That was ROS attempt number two, and my sporadic notes from this stretch are mostly about getting the hardware talking to ROS:
- Check the electrical connections.
- Update the firmware and its tests.
- A ROS firmware node exposing the motors, the ultrasonic sensors, and the battery voltage.
- Mount the Raspberry Pi and sort out its power.
- A serial interface from the firmware up to ROS, plus joystick control.
- The IMU over I2C, into the Pi and ROS.
- ORB SLAM, with an ultrasonic SLAM comparison scribbled next to it.
- Front panel IO.
The notes also have a circuit sketch for a soft power button for the Pi. A momentary switch feeds a small microcontroller, which drives a GPIO pin and the RUN header on the Pi. A press toggles the state. If the Pi is on, the micro signals a shutdown, and if it’s off, the micro pulses reset to boot it. The micro knows which is which by watching the Pi’s UART TXD line, since it sits high once the Pi has booted and drops low on halt.
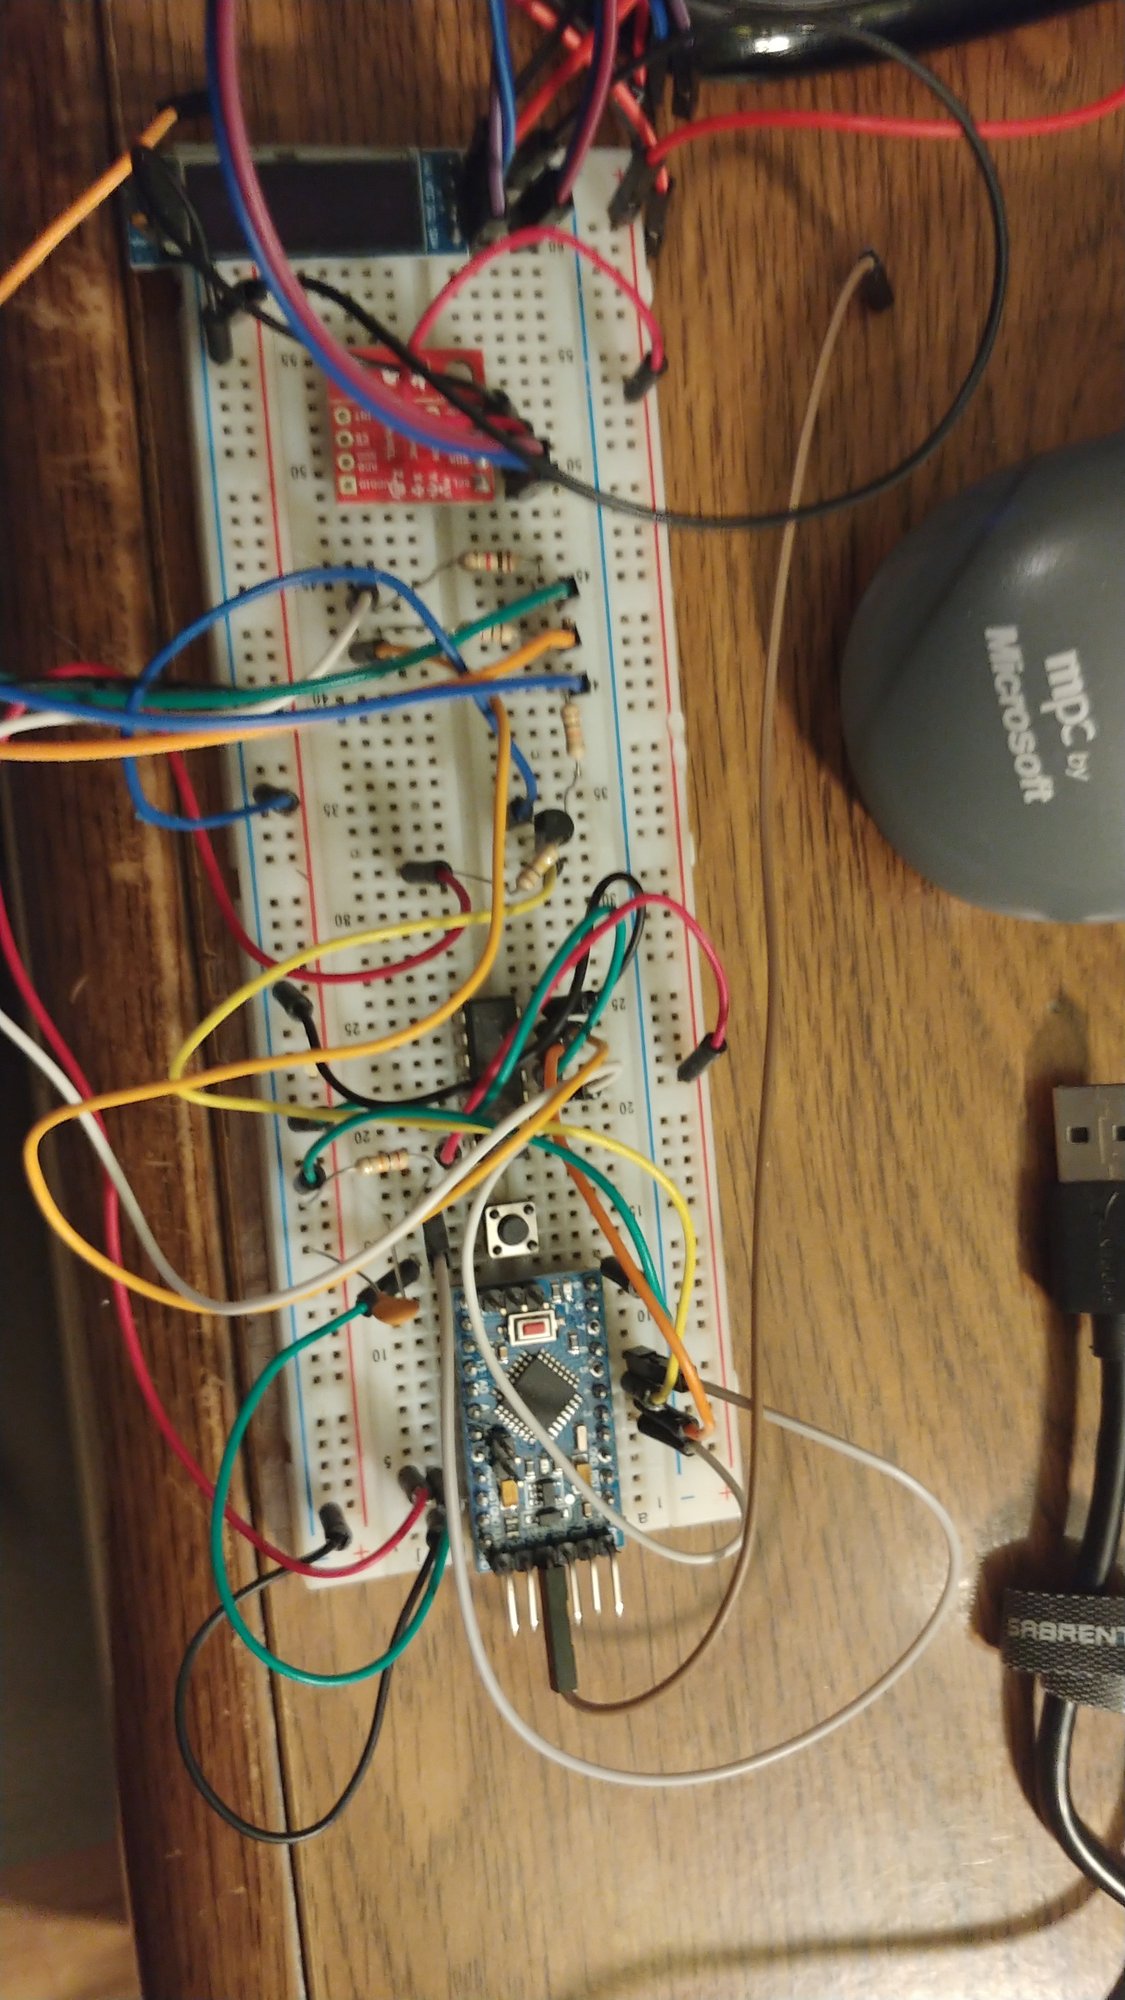
I wrote the firmware for it as part of a front panel Arduino, and the Pi side got a little Python script that shows the robot’s IP address on an OLED. During Covid I got as far as breadboarding that front panel. It never turned into a thing, and the front panel Arduino never made it into the robot.
Era #5: Jetson Nano
The Pi was never going to have the compute for SLAM and vision. So in grad school, when I gave YAM another look to blow off steam, a Jetson Nano took over as the brain. The old ultrasonics had suffered ESD damage or something by then, so I swapped them out, rewired them, and added two infrared sensors in between the three of them.
Under the Jetson, an Arduino Leonardo is the safety, control, and wall-banger layer. It runs the motor controller, the ultrasonics, and the infrareds, and talks to ROS over rosserial. If the heartbeat from the Jetson stops, a watchdog kills the drivetrain. Otherwise it drives like a tank, with a conversion so a joystick’s x and y can steer it. The drivetrain’s own comments warn that the math behind that conversion “should not run on just an Arduino”. It runs on just an Arduino. That module came over from Orion, and one comment still says its PWM range is for Victor SP motor controllers, which YAM never had.
Left on its own, the Leonardo runs a state machine that wanders until the sensors complain. I copied it over from RoverBot and never fixed the comments. The header says it controls “Rovebot”, and the which-way state further down says it moves Bubbles. Add the Orion drivetrain and it turns out RoverBot, YAM, Bubbles, and Orion have all been code-swapping the entire time.
/**
 * Autonomous module defines the state-machine to control Rovebot. The
 * state-machine architecture is built on the switch-case / subroutine
 * 'dispatcher' model. Everything is dependent on timer events running in the
 * main loop so it should be called every main loop tick.
 */

// ...

void auton_update(float ul, float uc, float ur, float sl, float sr) {
  // Run current state and update for next update call
  switch(_state){
    case MOVE_FWD:
      _state = _forward(ul, uc, ur, sl, sr);
      break;
    case MOVE_BWD:
      _state = _backward();
      break;
    case MOVE_LEFT:
      _state = _left(ul, uc, ur, sl, sr);
      break;
    case MOVE_RIGHT:
      _state = _right(ul, uc, ur, sl, sr);
      break;
    case WHICH_WAY_SLCT:
      _state = _whichWay(ul, uc, ur, sl, sr);
      break;
    case ERROR:
    default:
      auton_begin(); //something broke, reset state-machine
      break;
  }
}
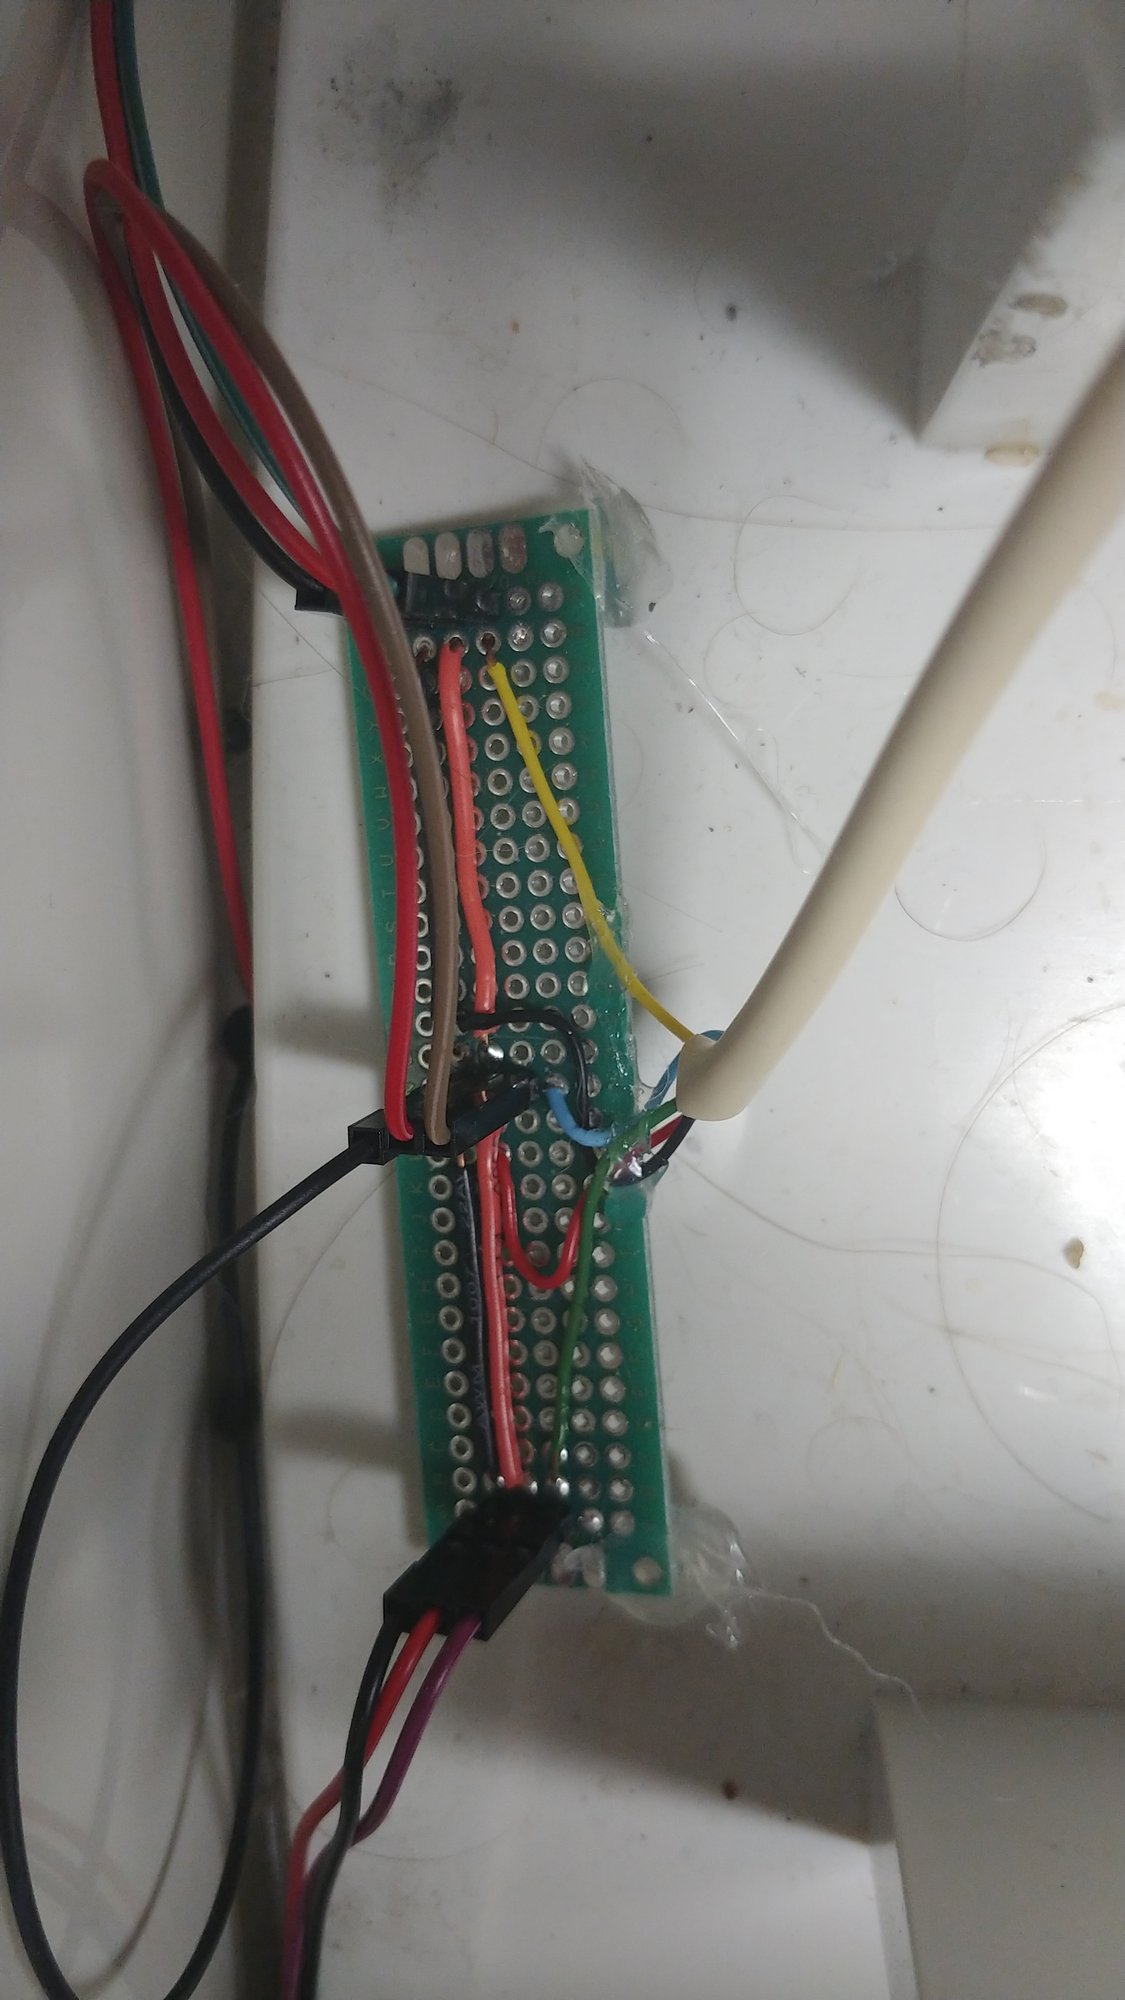
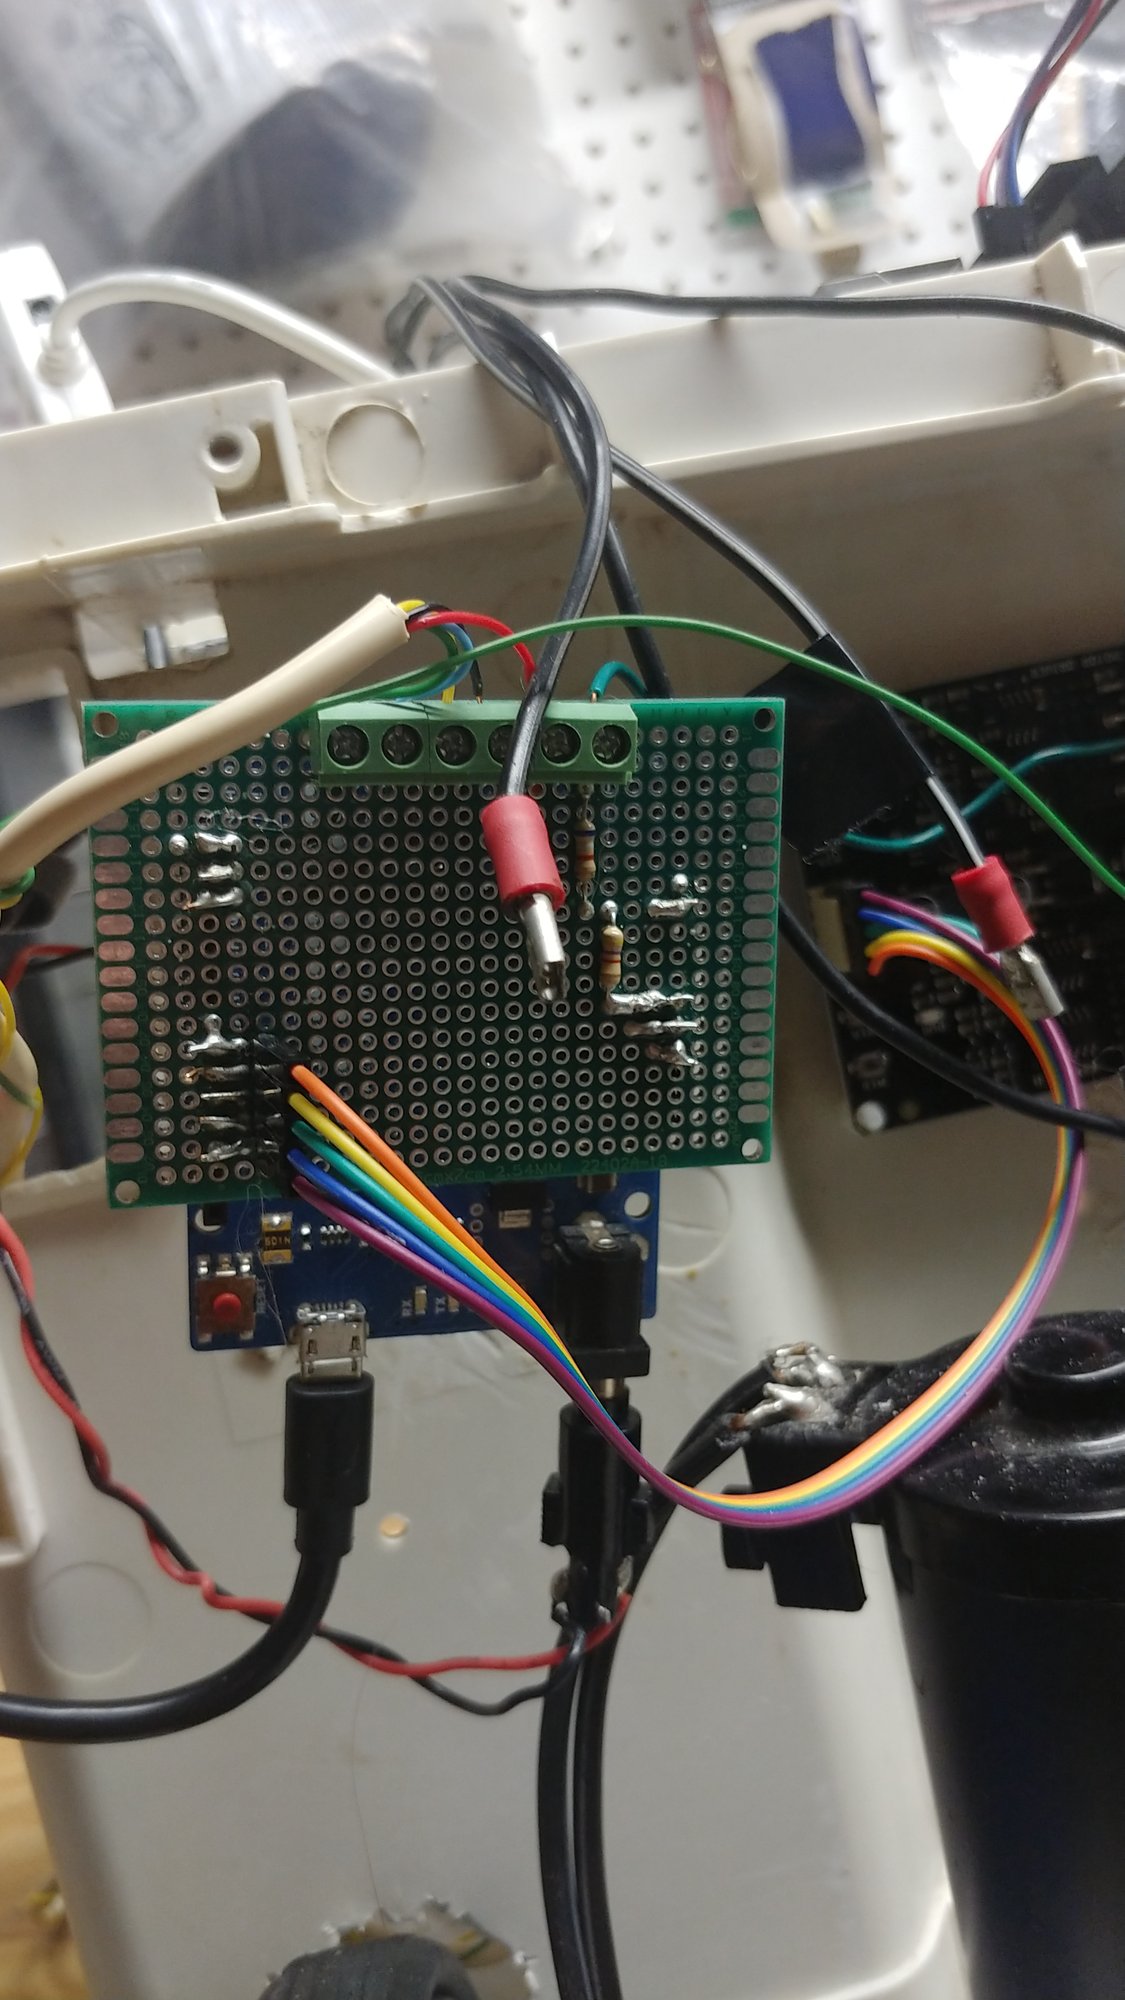
The internals from this round are two interface boards, one for the ultrasonics and infrareds and one for the Leonardo.
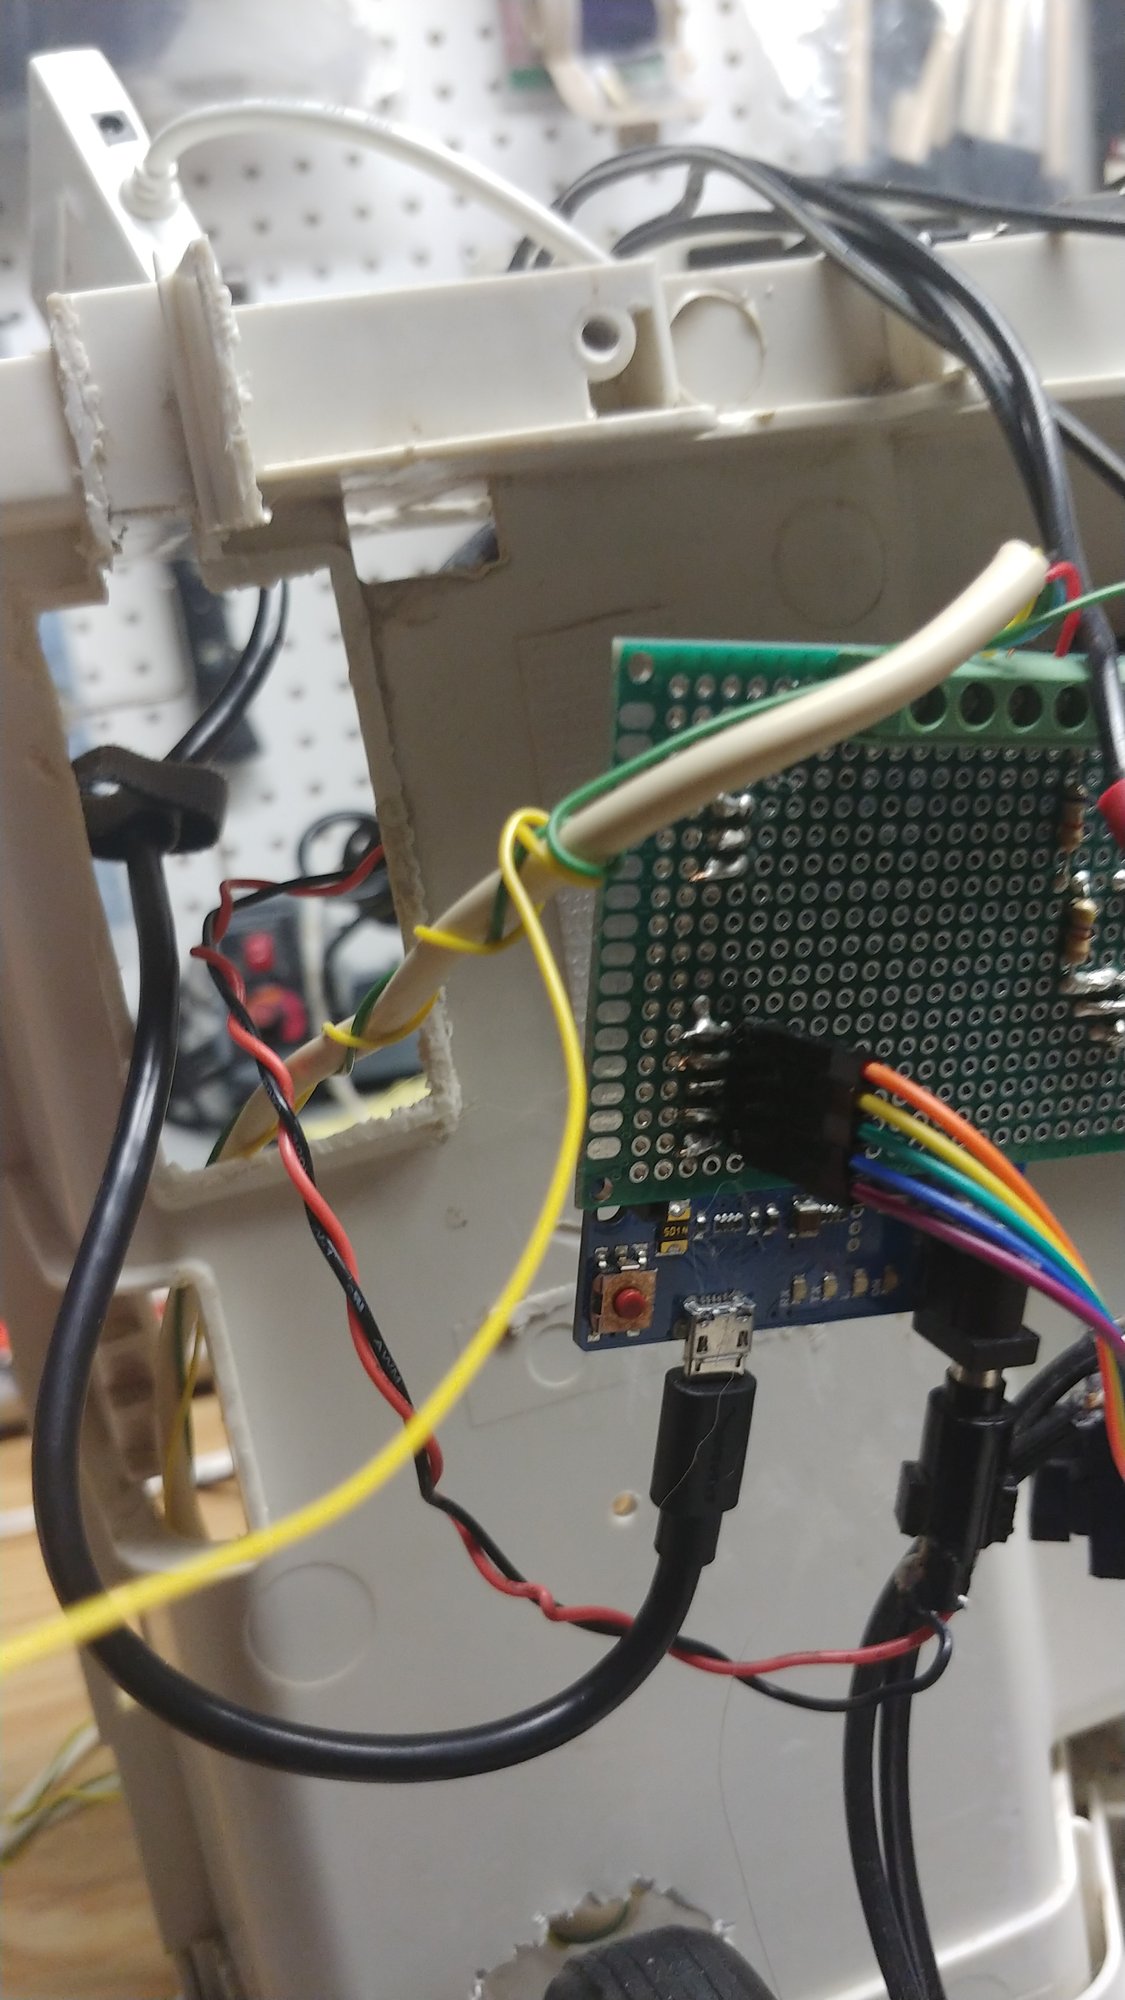
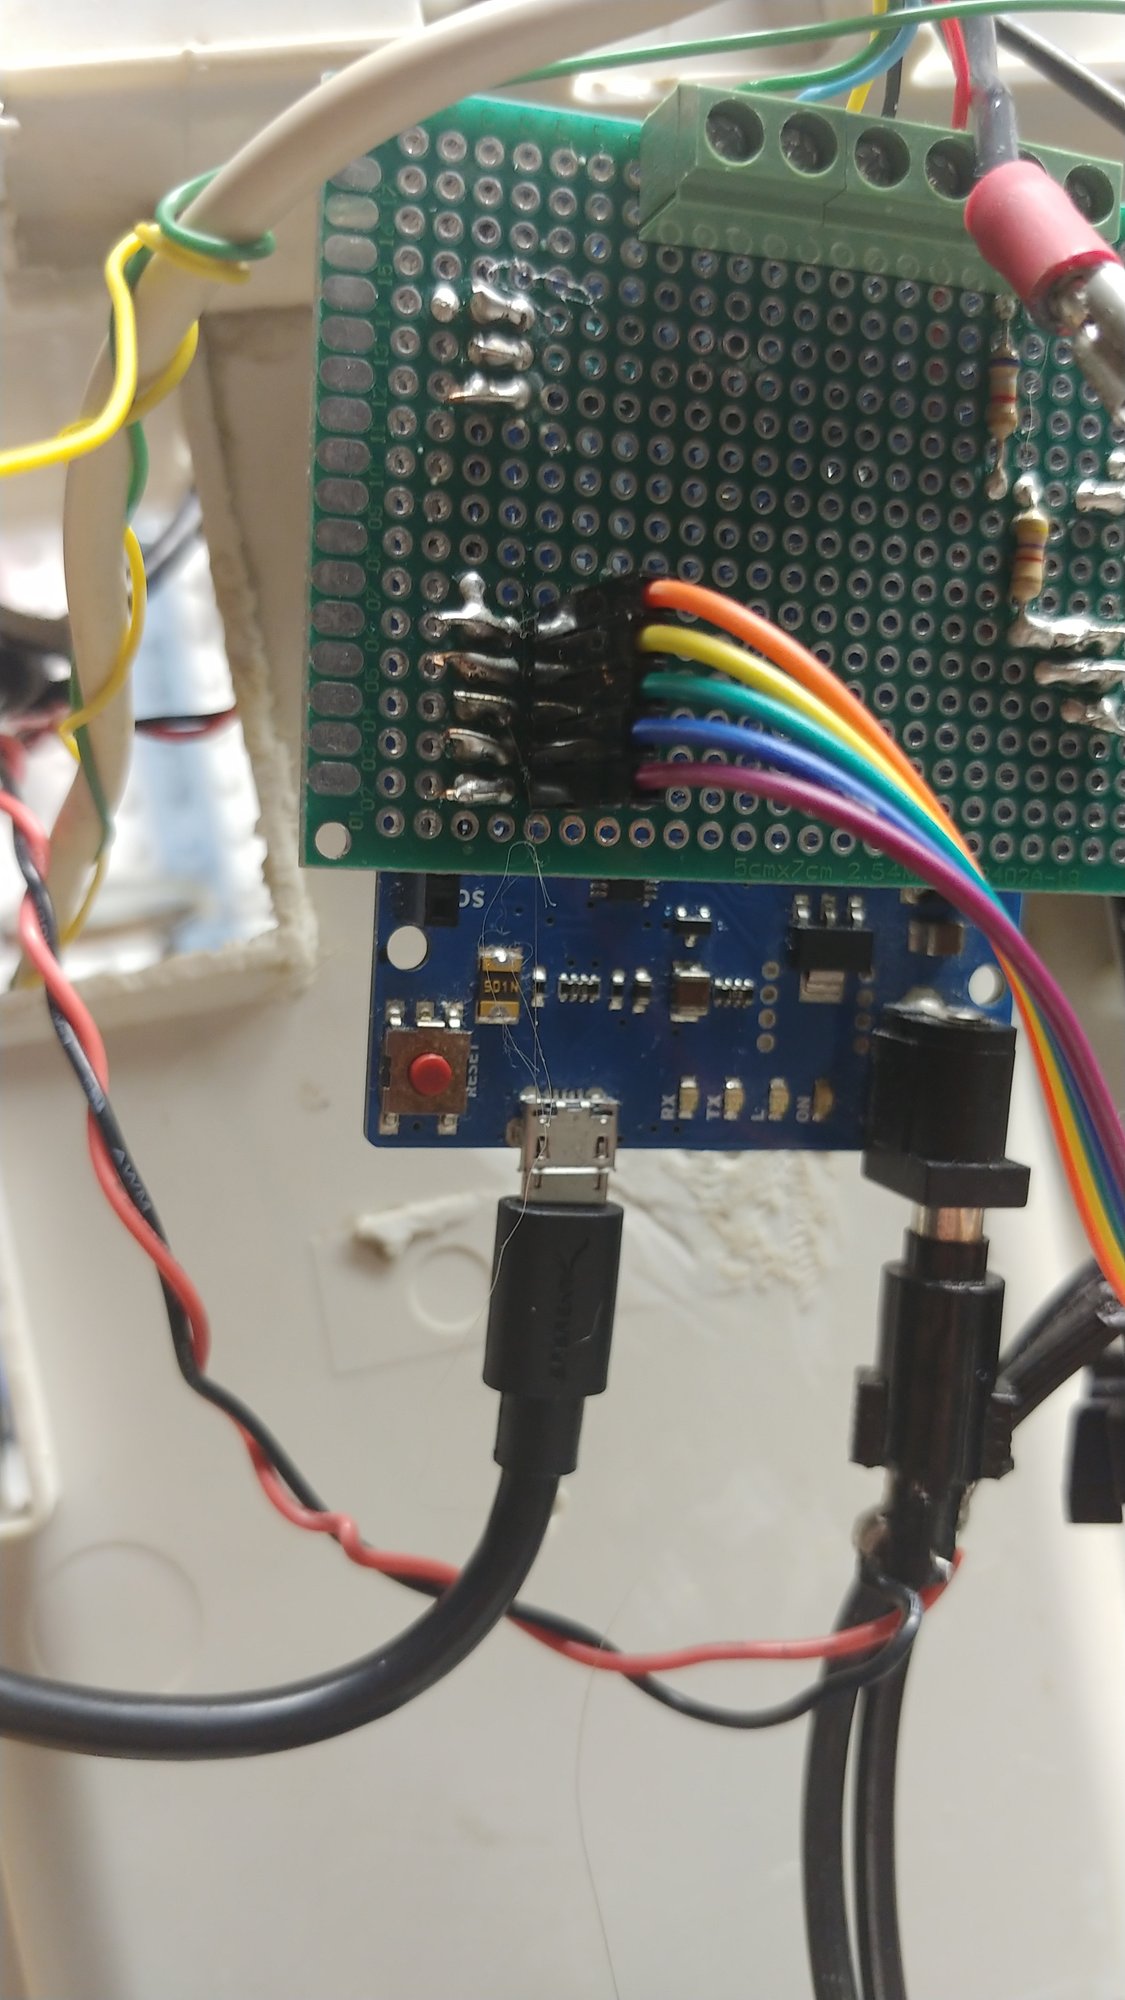
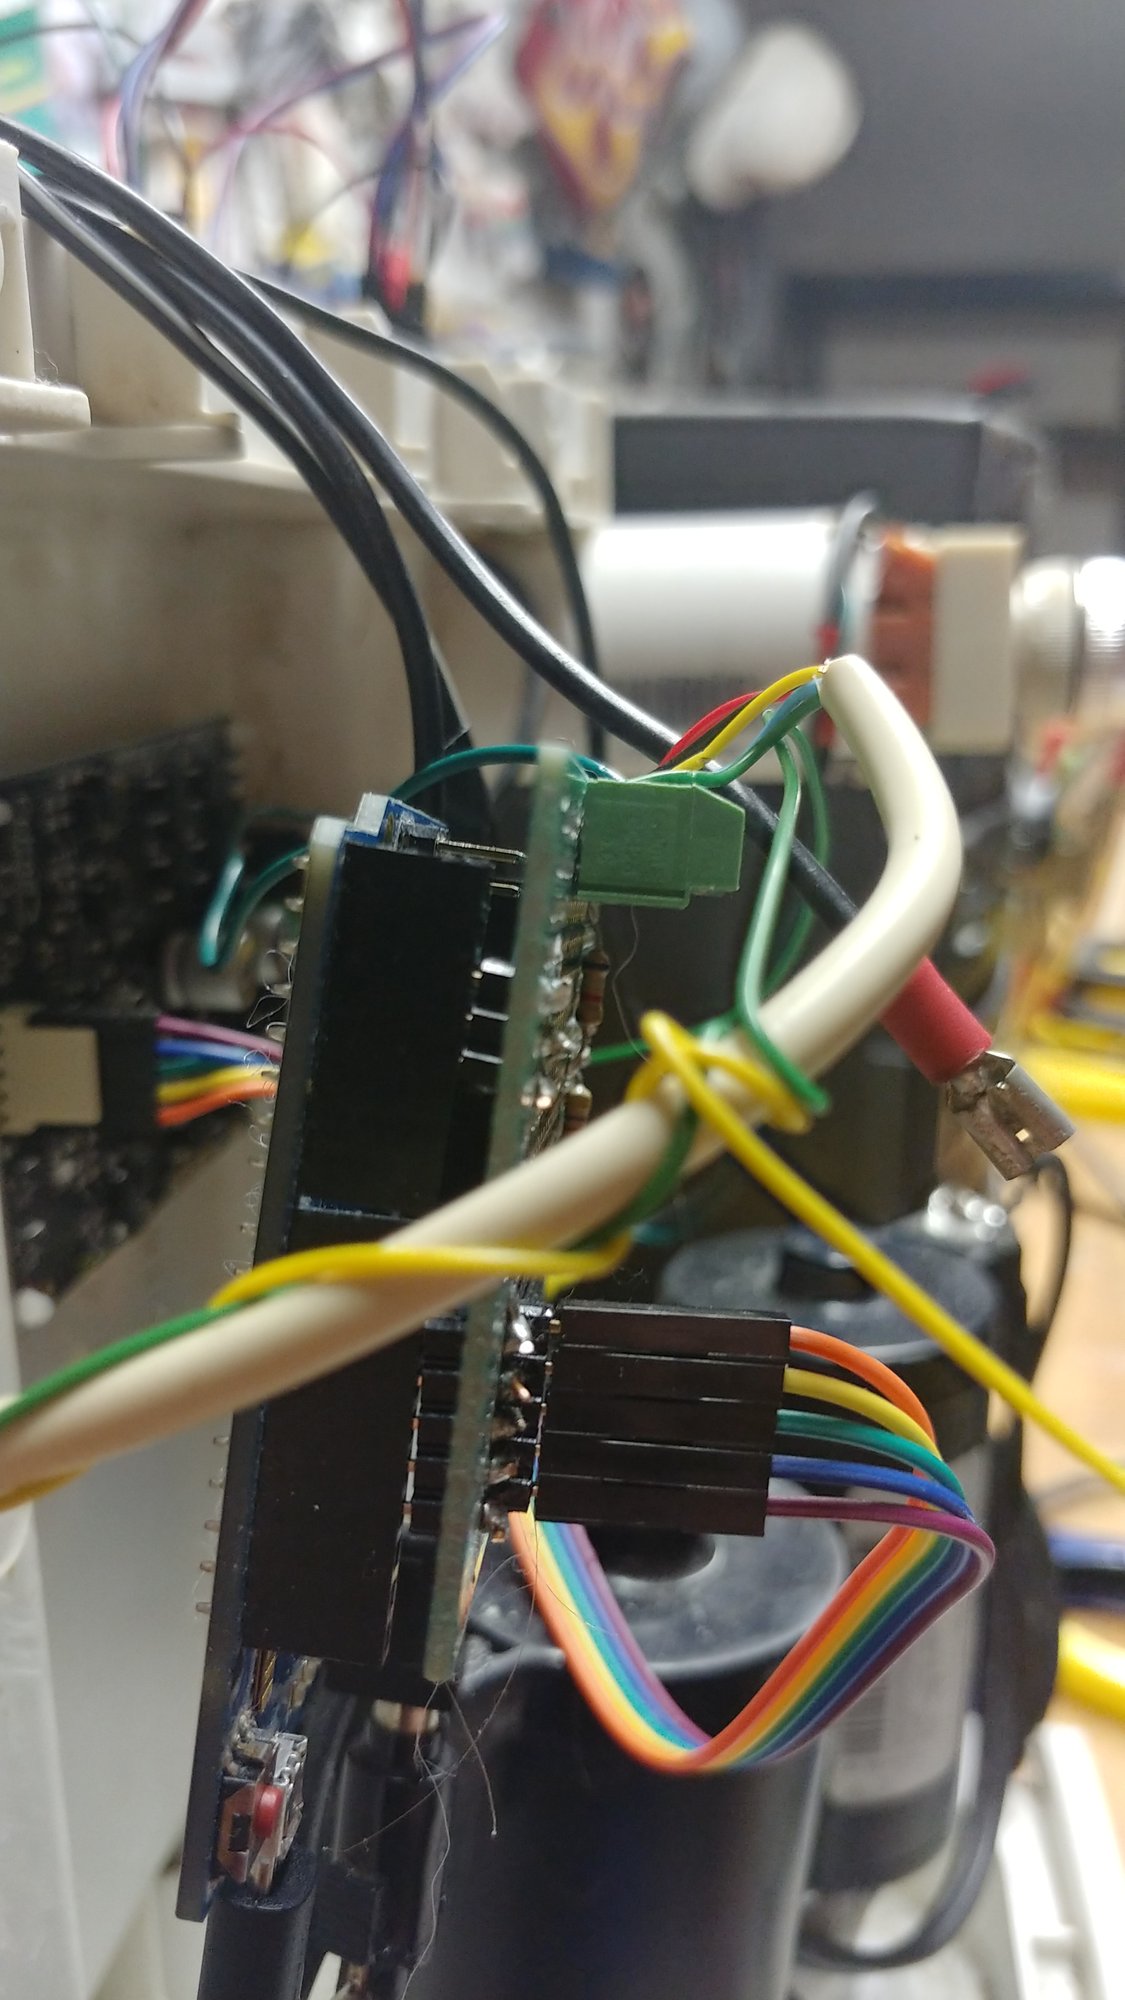
Around then I chicken scratched a note titled “YAM Work List”:
- Investigate the tires. One of them is slightly bald. Retread or replace?
- Calibrate the Sharp IR sensors so autonomous mode can use them. Maybe allow live testing of configs and parameters.
- Actually run through the Jetson AI demos and tutorials.
- Test ORB SLAM on the Jetson. It works well with the webcam I already had. The VIO libraries I found are the fallback.
- Local navigation render, and maybe world maps.
- Start on the front panel IO.
- Simulation?
- Closed loop control.
In the margins there’s a reminder to buy a 4-wire fan for the Jetson Nano, and a “Maybe Intel RealSense?” near the bottom of the page. (Update: I bought both.)
The repo also has launch files for ORB SLAM with a calibrated USB camera, a joystick test, and monodepth2 paired with RTAB-Map.
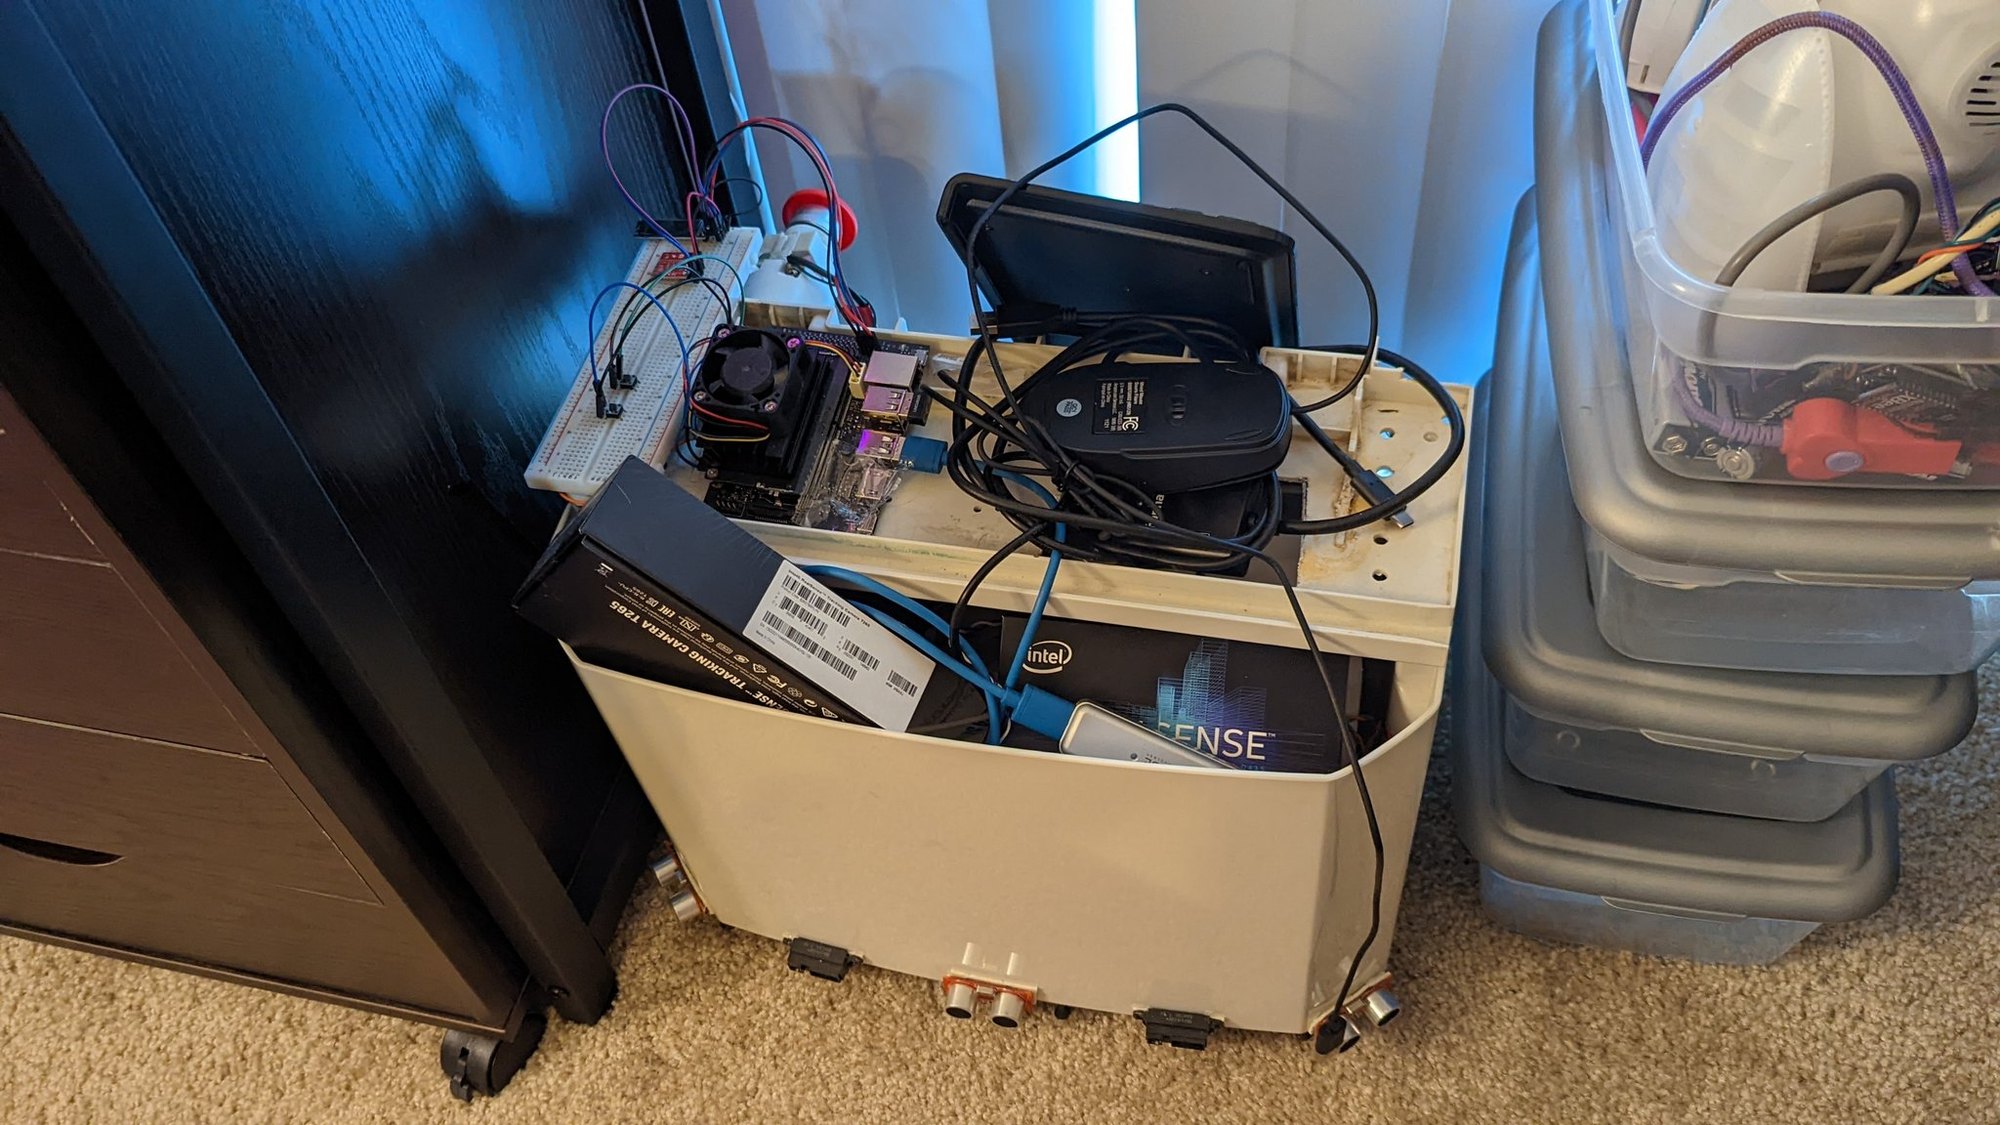
So that makes three ROS 1 attempts. First with the x86, then with the Raspberry Pi, then with the Jetson Nano. At least ROS 1 is deprecated now so I won’t try it again. Each time I did get further, so that counts for something, right?
YAM’s Status Now
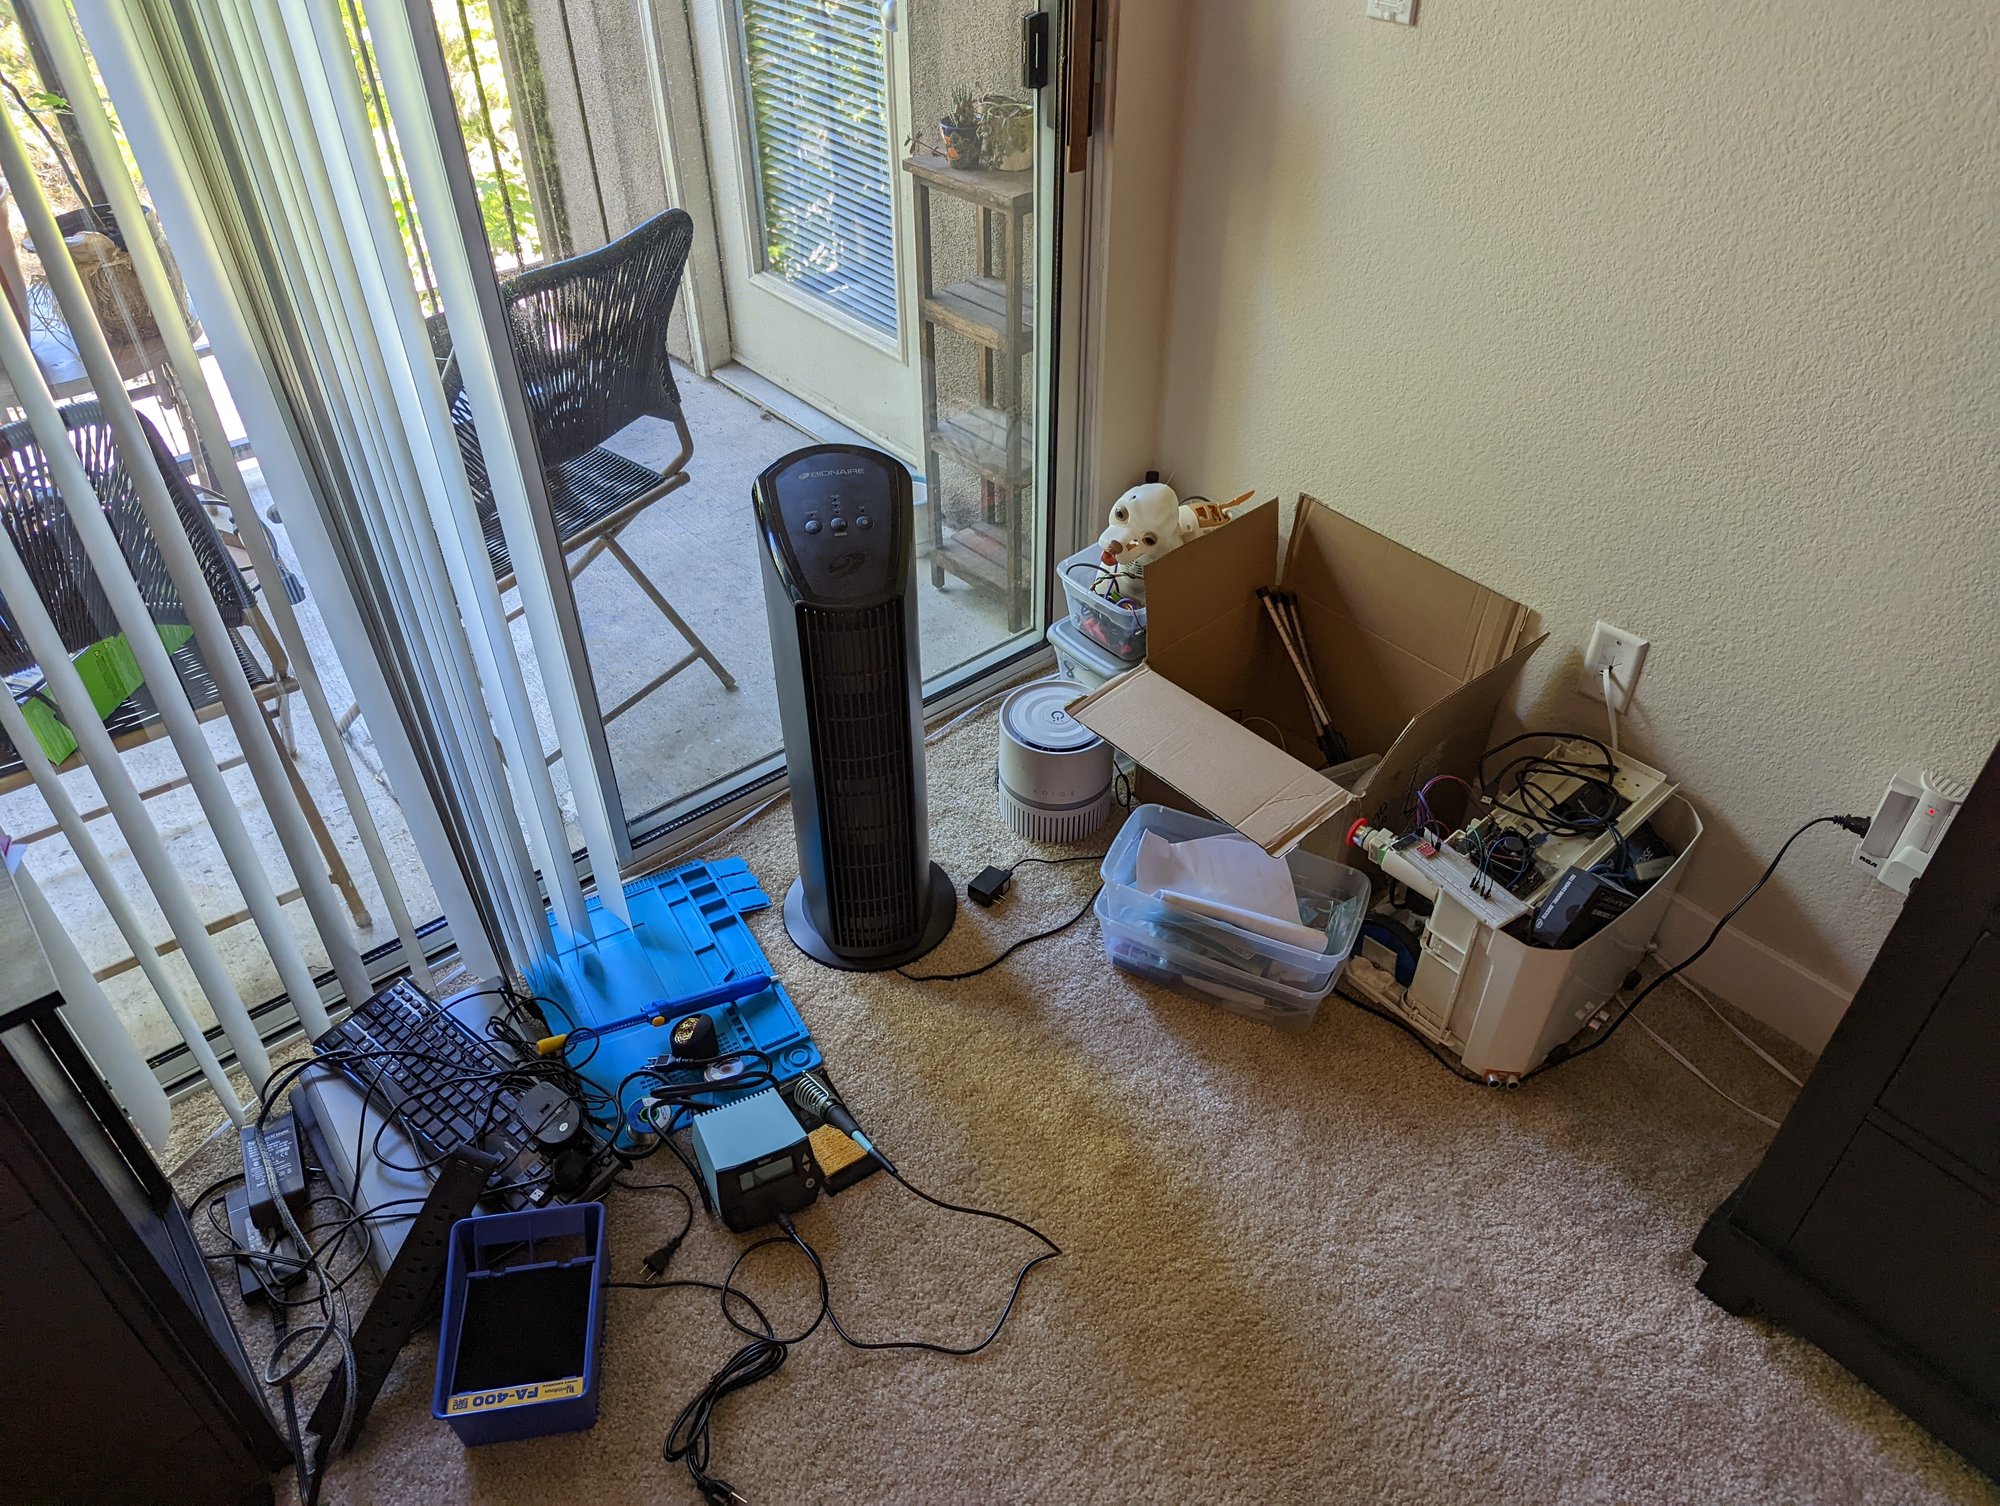
The goal is to eventually revive YAM. In my home automation setup post I said I wanted to bring it back to a functioning state and wire in some Alexa functionality. But it’s staged after a bunch of other projects, so it keeps getting pushed, and there is so much technical debt it’s kind of overwhelming. If I do attempt it again, it would be ROS 2, with the electrical, firmware, and compute stack all rethought.
At which point, is it still YAM? That’s the Ship of Theseus question. The old thought experiment asks whether a ship is still the same ship once every one of its planks has been replaced, one at a time. What’s left of the original YAM is the inner plastic base (with a lot more holes and cuts in it), the water bucket that still holds the batteries, and the window motors. Everything else has been swapped at least once.
Some of the old parts even moved on. That Raspberry Pi 3B+ now runs a VLM for my BEADZ project, with the same webcam that sat on top of YAM back in the x86 days.
YAM was built without a specific goal. It was always a test bed to learn new things. In that sense, its half-finished nature and constant evolution are exactly its purpose. Each era was a learning period where I tried things out on YAM, learned, and then moved on to do real work with that technique. If I come back to YAM, it’s to hone the next era of my skills.
Maybe another revival post is coming. But you know how I am with half-built projects.